Vue3 的初步处理方案
测试网站: bilibli
首先可以找到存在__vue_app__属性
查看源码可以知道在 mount 函数中的
mount(rootContainer, isHydrate, namespace) {
    if (!isMounted) {
    //省略
    rootContainer.__vue_app__ = app;
    return getComponentPublicInstance(vnode.component);
    }
}
还有一个_vnode 属性来自于mountElement函数的
def(el, "__vnode", vnode, true);
但是我们想在想进行全局劫持,势必要混入自己的代码,Vue3 调用是createApp(rootComponent).mount(dom)
而rootContainer.__vue_app__ = app;是在挂接之后才能出现的
我们要劫持势必要在初始化时劫持,于是可以顺着 createApp 找找思路
function createApp(rootComponent, rootProps = null) {
  if (!isFunction(rootComponent)) {
    rootComponent = extend({}, rootComponent);
  }
  //省略
  return app;
}
这里可以看到有判断rootComponent是否是函数,而在脚手架开发的时候,在开发完成编译的时候会通过 sfc 将 vue 的模板文件编译成组件对象,一般为 object 对象
所以大概率会走到下面的 extend 函数,那我们看看 extend 是怎么实现的const extend = Object.assign;
可以发现这部分有利用的机会!
const assign = Object.assign;
let isRun = false;
Object.assign = function (...args) {
  if (args.length == 2 && args[1]?.render !== undefined && !isRun) {
    let b = args[1];
    const originRender = b.render;
    b.render = function (...args) {
      console.log("被执行了", args);
      return originRender.call(this, ...args);
    };
    isRun = true;
  }
  return assign.call(this, ...args);
};
这里我利用了劫持assign可以得到根组件的render函数,�控制render是因为渲染模板相对其他的属性来说可能对数据的暴露拥有更多的访问机会
但是我们该怎么混入实例呢?根据逆向最后找到了renderComponentRoot函数的vnode.shapeFlag & 4分支,render模板上级调用如下
render.call(
  thisProxy,
  proxyToUse,
  renderCache,
  true ? shallowReadonly(props) : props,
  setupState,
  data,
  ctx
);
可以看到最后一个就是 ctx!
那我们就可以通过 render 最后一个参数找到appContext,根据appContext再对全局混入数据!
理论建立完毕了!
// ==UserScript==
// @name         Vue3 Mixin Inject
// @namespace    https://bbs.tampermonkey.net.cn/
// @version      0.1.0
// @description  try to take over the world!
// @author       You
// @match        https://www.bilibili.com/*
// @run-at       document-start
// @grant unsafeWindow
// ==/UserScript==

const assign = Object.assign;
let isRun = false;
Object.assign = function (...args) {
  if (args.length == 2 && args[1]?.render !== undefined && !isRun) {
    let b = args[1];
    const originRender = b.render;
    let isInject = false;
    b.render = function (...args) {
      if (!isInject) {
        args[5]["_"].appContext.mixins.push({
          mounted() {
            console.log("被创建了,实例数据", this.$props);
          },
        });
        isInject = true;
      }
      console.log("被执行了", args);
      return originRender.call(this, ...args);
    };
    isRun = true;
  }
  return assign.call(this, ...args);
};
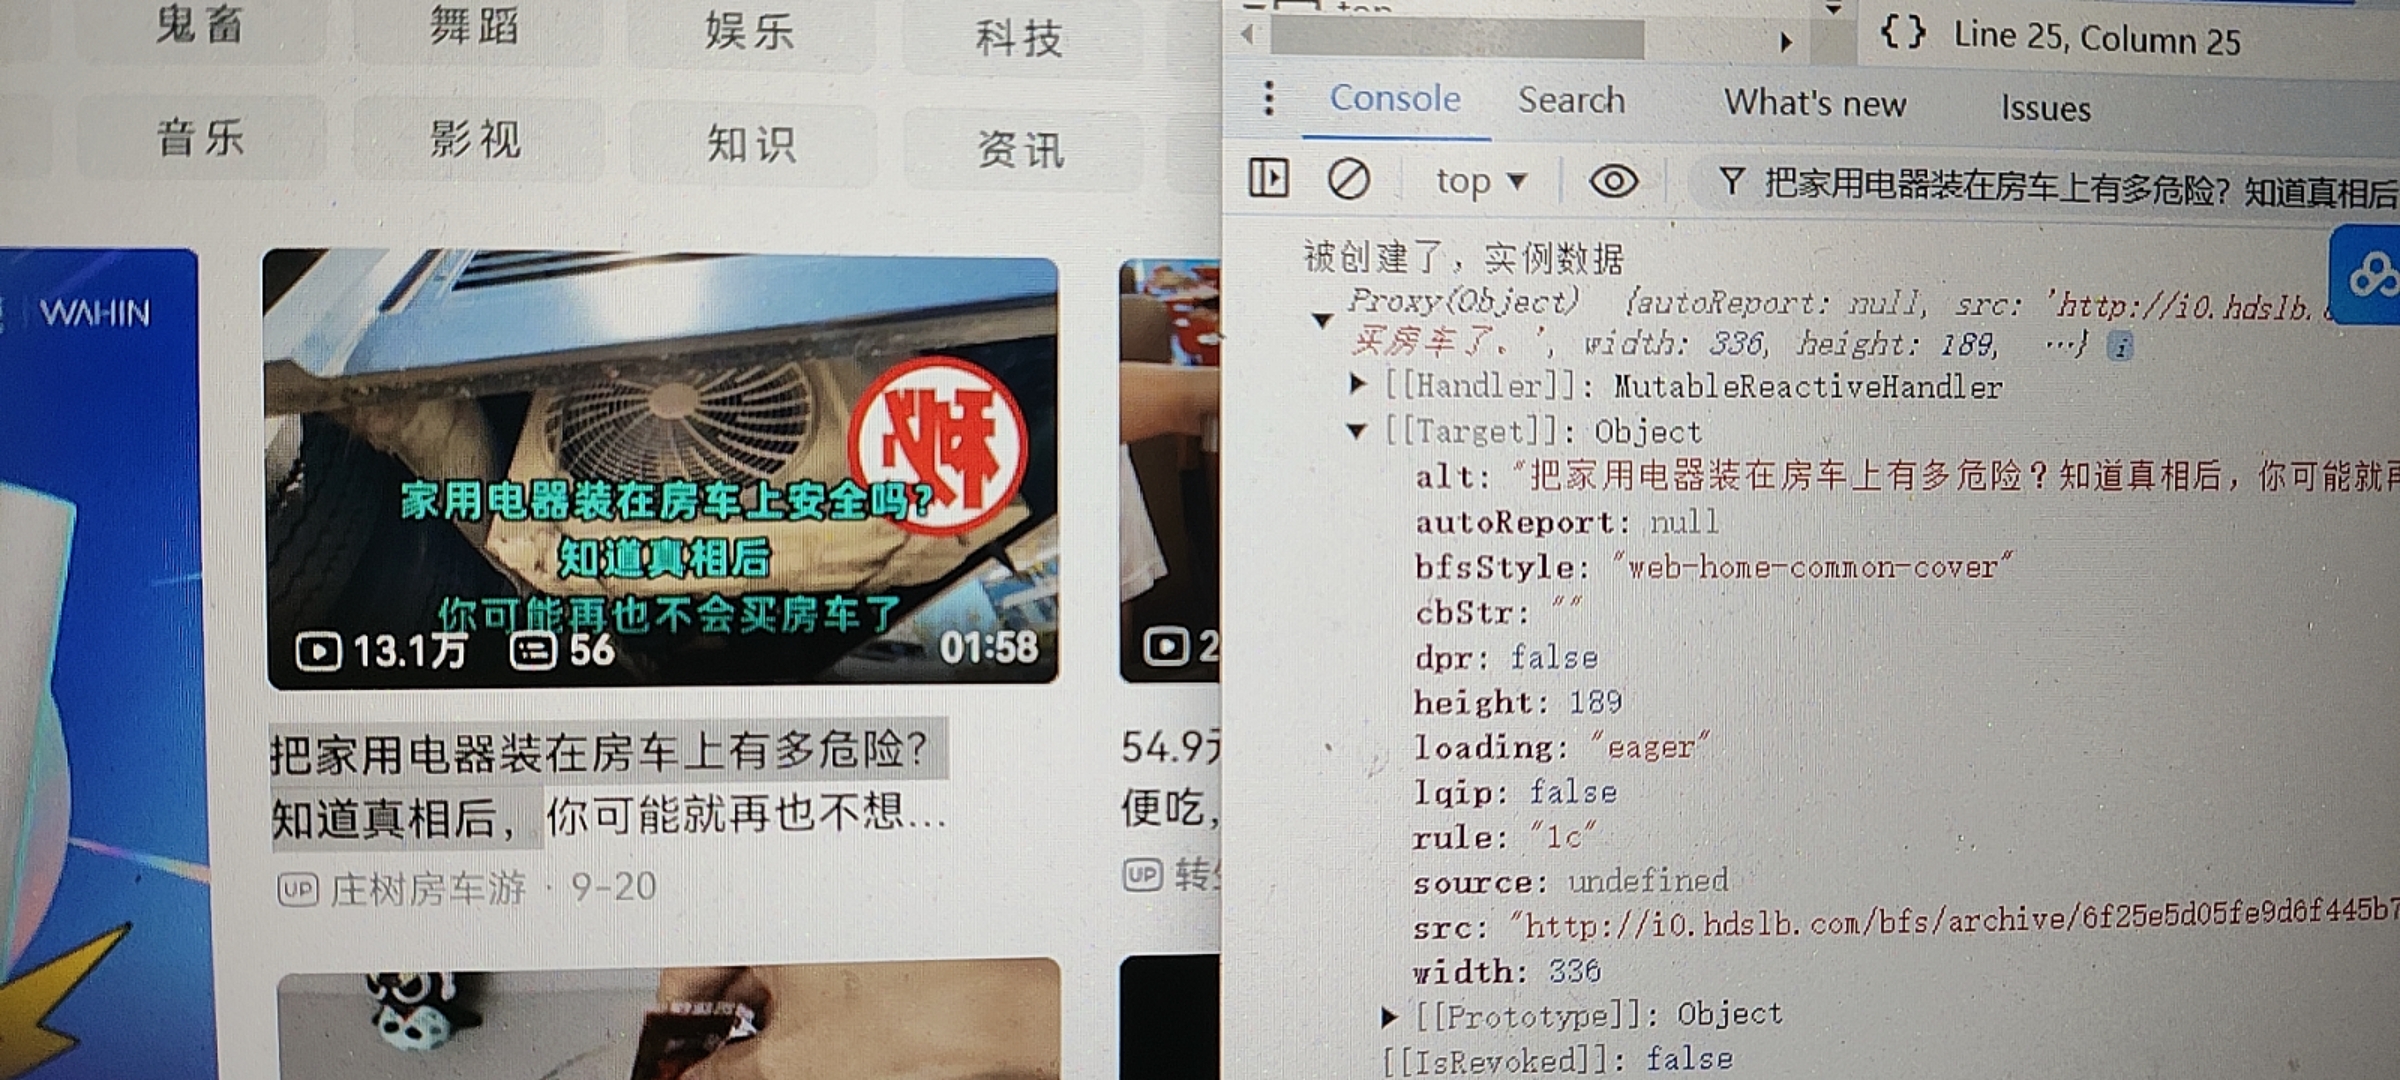
测试一下

利用 use 进行注入
除了从createApp的Object.assign劫持外
通过观察还可以开发者常用的use函数也是一个可以利用的注入点
其源代码为
use(plugin, ...options) {
    if (installedPlugins.has(plugin)) {
        warn$1(`Plugin has already been applied to target app.`);
    } else if (plugin && isFunction(plugin.install)) {
        installedPlugins.add(plugin);
        plugin.install(app, ...options);
    } else if (isFunction(plugin)) {
        installedPlugins.add(plugin);
        plugin(app, ...options);
    } else {
        warn$1(
        `A plugin must either be a function or an object with an "install" function.`
        );
    }
    return app;
}
可以看到使用了installedPlugins而该变量是一个WeakSet
const installedPlugins = /* @__PURE__ */ new WeakSet();
可知针对WeakSet进行劫持得到Plugin,对Plugin进行一层包装依然可以实现夺取appContext对象
const originWeakSet = WeakSet;
unsafeWindow.WeakSet = function () {
  const instance = new originWeakSet();
  const has = instance.has;
  instance.has = function (...args) {
    // 劫持位置
    return has.call(this, ...args);
  };
  return instance;
};
但是由于时间原因作者就不进行补足了,感兴趣大家可以对这方面进行补充并且更新过来~
常见数据位置与触发响应
Vue3 的开发方式不再使用 Vue2 的选项式,这个时候数据来源以及修改就成了问题
我们可以创建一个最简单的实例来作为分析例子
const { createApp, ref } = Vue;
createApp({
  setup() {
    debugger;
    const message = ref("Hello vue!");
    return {
      message,
    };
  },
  created() {
    console.log("created");
  },
}).mount("#app");
针对 setup 函数打断电,通过堆栈回溯可以找到setupStatefulComponent函数进行调用
其中可以看到首先从Component组件的模板中获得了Setup,然后通过 callWithErrorHandling函数来防止setup出错进行调用
const { setup } = Component;
if (setup) {
  pauseTracking();
  const setupContext = (instance.setupContext =
    setup.length > 1 ? createSetupContext(instance) : null);
  const reset = setCurrentInstance(instance);
  const setupResult = callWithErrorHandling(setup, instance, 0, [
    shallowReadonly(instance.props),
    setupContext,
  ]);
}
其中最后一部分是setup传入的参数,我们可以发现
其中组件的setup函数的props数据来自于实例的instance.props通过一层shallowReadonly做浅包裹
而contexnt来自于instance.setupContext包含了emit,expose,attrs,slots四个参数,但是如果setup的参数没有进行使用不会进行创建
我们继续往下走可以走到handleSetupResult函数中
其中可以发现如果是函数则将作为render模板,而如果为�对象则会设置到实例的setupState上
function handleSetupResult(instance, setupResult, isSSR) {
  if (isFunction(setupResult)) {
    {
      instance.render = setupResult;
    }
  } else if (isObject(setupResult)) {
    instance.setupState = proxyRefs(setupResult);
  }
}
而我们混入的 this 属性,根据调试可以确定实例在 this 的_属性上,由此可以推断出以下常见数据所在位置
| 属性 | 位置 |
|---|---|
| setup | this['_'].setupState |
| data | this['_'].$data |
| render | this['_'].render |
| props | this['_'].props |
关于修改数据,其中setupState最简单,他是通过ref函数创建的,而ref最后创建的是RefImpl的类实例对象,根据代码可知直接设置value属性即可
class RefImpl {
  constructor(value, isShallow2) {
    this.dep = new Dep();
    this["__v_isRef"] = true;
    this["__v_isShallow"] = false;
    this._rawValue = isShallow2 ? value : toRaw(value);
    this._value = isShallow2 ? value : toReactive(value);
    this["__v_isShallow"] = isShallow2;
  }
  get value() {
    {
      this.dep.track({
        target: this,
        type: "get",
        key: "value",
      });
    }
    return this._value;
  }
  set value(newValue) {
    const oldValue = this._rawValue;
    const useDirectValue =
      this["__v_isShallow"] || isShallow(newValue) || isReadonly(newValue);
    newValue = useDirectValue ? newValue : toRaw(newValue);
    if (hasChanged(newValue, oldValue)) {
      this._rawValue = newValue;
      this._value = useDirectValue ? newValue : toReactive(newValue);
      {
        this.dep.trigger({
          target: this,
          type: "set",
          key: "value",
          newValue,
          oldValue,
        });
      }
    }
  }
}
需要注意的是,Vue3 中data属性是选项式data函数所返回的,而setup返回的是setupState属性,二者不能混为一谈,由于data其修改方式类似,暂且就不表了
除此之外还有一个props属性,props只有最顶层的数据触发才能进行修改,不能单纯的修改某个属性内容,例如
instance.props.info = { ...instance.props.info, title: "123456" };
才可以成功触发数据响应
而 render 一般不推荐进行修改,暂且就不表了~
注入 Vue 路由实例
我们可以注入到 Vue3 的路由中,从而依赖于 Vue 的事件触发来更贴近框架的原生体验
首先查看 Vue 路由的使用方法
import { createMemoryHistory, createRouter } from "vue-router";

import HomeView from "./HomeView.vue";
import AboutView from "./AboutView.vue";

const routes = [
  { path: "/", component: HomeView },
  { path: "/about", component: AboutView },
];

const router = createRouter({
  history: createMemoryHistory(),
  routes,
});
createApp(App).use(router).mount("#app");
可以看到创建了 router 对象然后调用 use 使用,我们恰好可以通过 use 进行注入
// ==UserScript==
// @name         Vue3路由注入测试
// @namespace    https://bbs.tampermonkey.net.cn/
// @version      0.1.0
// @description  try to take over the world!
// @author       You
// @match       http://localhost:5173/
// @grant       unsafeWindow
// @run-at      document-start

// ==/UserScript==
const originWeakSet = WeakSet;
unsafeWindow.WeakSet = function () {
  const instance = new originWeakSet();
  const has = instance.has;
  instance.has = function (...args) {
    if (args[0].addRoute !== undefined) {
      console.log("找到了路由", args[0]);
      const router = args[0];
      router.afterEach((to, from, fail) => {
        console.log(to, from, fail);
      });
    }
    return has.call(this, ...args);
  };
  return instance;
};
这里我们挂了afterEach钩子进行测试,也可以使用beforeEach,beforeResolve等钩子
实测已经成功得到了路由实例并且进行操控

注入 Pinia 实例
同理我们也可以利用 use 对 pinia 等插件进行劫持
// ==UserScript==
// @name         Vue3 Pinia注入测试
// @namespace    https://bbs.tampermonkey.net.cn/
// @version      0.1.0
// @description  try to take over the world!
// @author       You
// @match       http://localhost:5173/*
// @grant       unsafeWindow
// @run-at      document-start

// ==/UserScript==
const originWeakSet = WeakSet;
unsafeWindow.WeakSet = function () {
  const instance = new originWeakSet();
  const has = instance.has;
  instance.has = function (...args) {
    debugger;
    if (args[0].state !== undefined) {
      console.log("找到了pinia注册实例", args[0]);
    }
    return has.call(this, ...args);
  };
  return instance;
};
只需要找到找到关键的属性名进行判断即可
